
Reviewed · GLACIER HIKES
Sólheimajökull Ice Climb and Glacier Hike
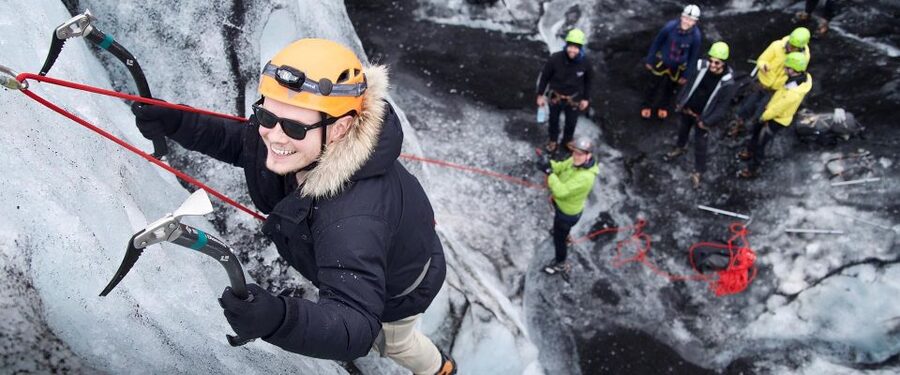
What makes the Sólheimajökull Ice Climb and Glacier Hike so special is simple: you go from standing on Iceland’s ground to moving on a living river of ice with real, physical ice-climbing skills. The glacier is an outlet of the ice field made famous in Chasing Ice, so the setting has instant context, even before you put on crampons. I also like that the guides keep things calm and controlled, like Maria did when she walked first-timers through every step.
What I like most is the mix: you get a glacier hike plus an actual ice climb, not just a quick photo moment. In the small group setting, guides like Adam and Hang are safety focused, patient with new climbers, and willing to stop for good, secure photo spots.
One consideration: this is technical cold-weather work. You need warm layers, proper gloves, and the willingness to follow safety instructions closely, because ice climbing is not the place for winging it.
Key highlights I’d plan around
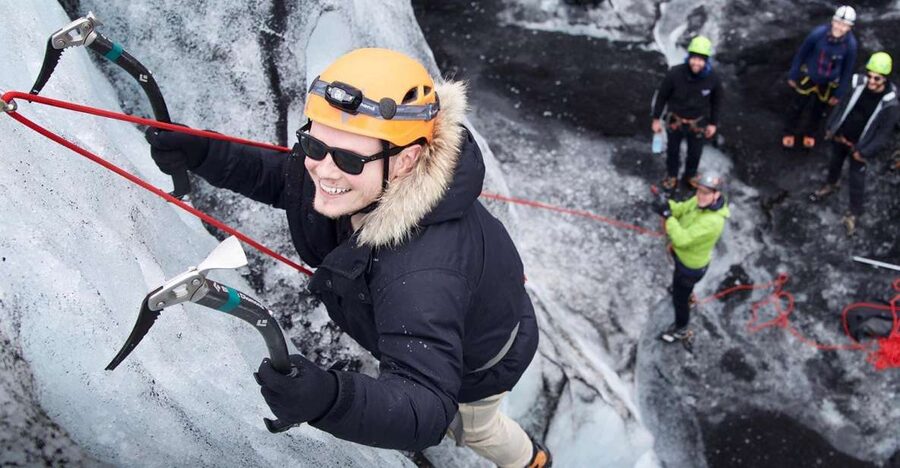
- Small group max 6 means you get more hands-on coaching when you’re learning the basics
- Certified glacier guide sets your climbing system and keeps the pace steady and safe
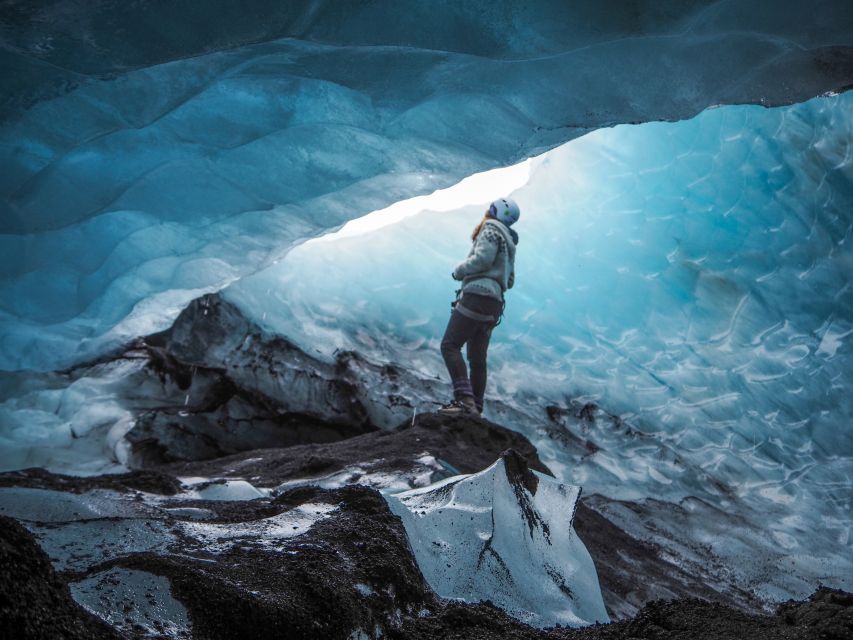
- Real ice features up close, including crevasses, tunnels, and ice formations
- First-timer friendly coaching, with guides described as patient and reassuring
- Bonus ice-cave option may be offered, depending on conditions and what’s available
Why Sólheimajökull feels like a movie set tied to real climate science
Sólheimajökull is one of the Iceland glaciers you’ll recognize fast, because it showed up in Chasing Ice. That matters because you’re not just seeing pretty ice. You’re walking on a glacier that has a story tied to a changing world, and you’ll hear that context during the walk and safety time.
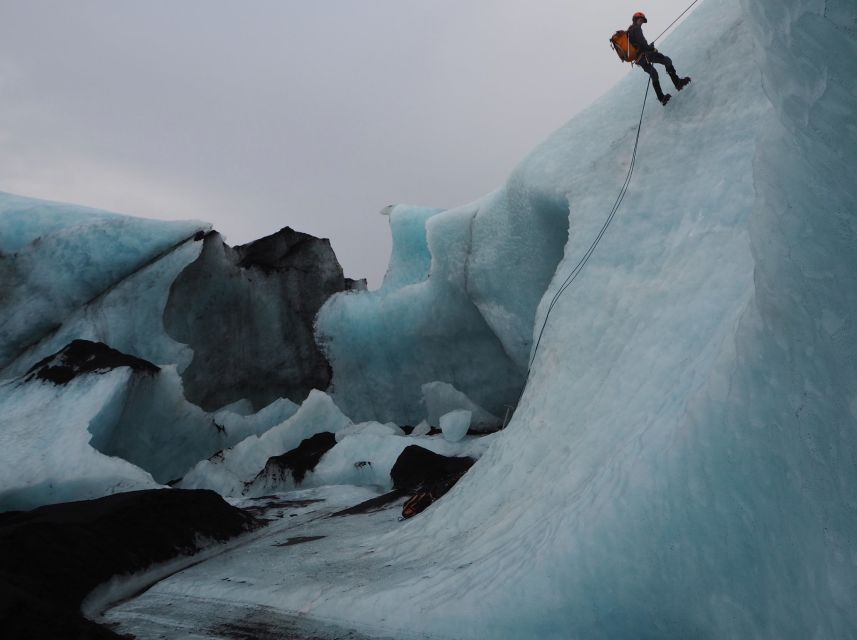
Even better, the glacier gives you variety. You’re not just looking at a flat slab. You’ll be moving through zones where the ice shapes itself into walls, folds, and openings that look almost carved by hands. When you stand near crevasses and those darker tunnel-like areas, the place stops being scenic and starts being dramatic.
And yes, it feels physical. The ice has texture. Your boots bite into it, and the glacier pushes you to be aware of every step.
More glacier hikes near Vik:
- Skaftafell: Ice Cave Tour and Glacier Hike
★ 4.5 · 1,746 reviews - Sólheimajökull: Guided Glacier Hike
★ 4.7 · 1,123 reviews - Sólheimajökull Glacier Hike – Adventure in a Small Group
★ 5.0 · 799 reviews
Gear-up and safety briefing, before you start climbing
The day starts with meeting your guide at the Sólheimajökull Glacier parking lot. From there, you collect safety gear and get fitted out before you go anywhere near the steeper ice.
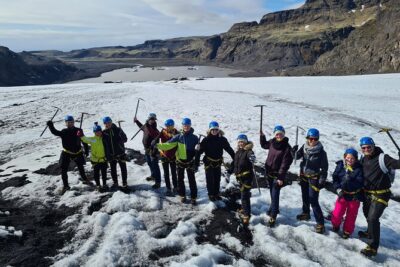
Here’s what’s included, and it’s a big part of the value: climbing boots, helmet, harness, crampons, ice axe, and ropes. That means you’re not hunting down specialized rental gear on your own, and you’re not guessing whether the equipment fits properly. For first-timers, correct fit is half the battle.
Then comes the safety briefing. This is where the guide teaches you how the system works and what you’ll do on the ice. The best part is the teaching style described by guides like Maria and Adam, where first-time nervous energy is met with calm explanations and step-by-step reassurance.
You’ll also get the practical fundamentals of ice climbing technique before the climb begins. Even if you’ve hiked a lot, you’re learning new tools: crampons for grip and an ice axe for balance and support. You’ll feel the difference fast.
The walk in: getting your legs used to glacier terrain
Before the steep stuff, you hike toward the outlet glacier. The total active time is about 4 hours, but it doesn’t feel like a rushed sprint. There’s time built in for walking and then time built in for learning.
That walk segment matters more than you might think. It’s your warm-up to the environment. You learn how the ice underfoot changes as you move. You also get a rhythm with your group, since you’ll be moving in a controlled way with the guide managing positioning and spacing.
Expect a straightforward pace and plenty of guidance. One recurring theme from the experience is how confidently guides supported their groups on the ice climb, including people who were anxious or unfit. That support tends to show up right here, during the approach, when the guide can quietly correct foot placement and posture.
The ice climb: learning crampon steps and axe technique up the wall
Once you reach a suitable climbing spot, your guide sets up the climbing system. That setup step is not glamorous, but it’s the difference between a stunt and a real activity done safely. You’ll feel it in the way the rope, harness, and progression plan make the whole climb feel structured.
The goal is not just to get you to the top. The goal is to teach you enough to climb intelligently, even if it’s your first time. You learn basic ice-climbing techniques, then practice them as you move up.
What you’re really building is confidence in three things:
- Grip with crampons, so you trust your footing
- Body position so you don’t fight the ice
- Axe control so your movements stay deliberate
This is where the guide quality shows. In the feedback, guides like Helki and Kevin were praised for making people feel safe at every crampon step. Maria and Adam were praised for patience, especially with beginners who had never tried ice climbing before.
And yes, you might even end up surprised by yourself. Several people highlighted reaching the top or managing the climb while dealing with fear of heights. That doesn’t mean it’s easy. It means the coaching works.
A few more Vik trips worth comparing
- Solheimajokull Glacier 3-Hour Small-Group Hike
★ 5.0 · 501 reviews - Sólheimajökull Glacier Hike – Small Group Blue Ice Adventure
★ 5.0 · 497 reviews - Zipline and Hiking Adventure Tour in Vík
★ 5.0 · 336 reviews - Vik: Guided Glacier Hike on Sólheimajökull
★ 4.7 · 265 reviews
What you see on the glacier: crevasses, tunnels, and shifting ice
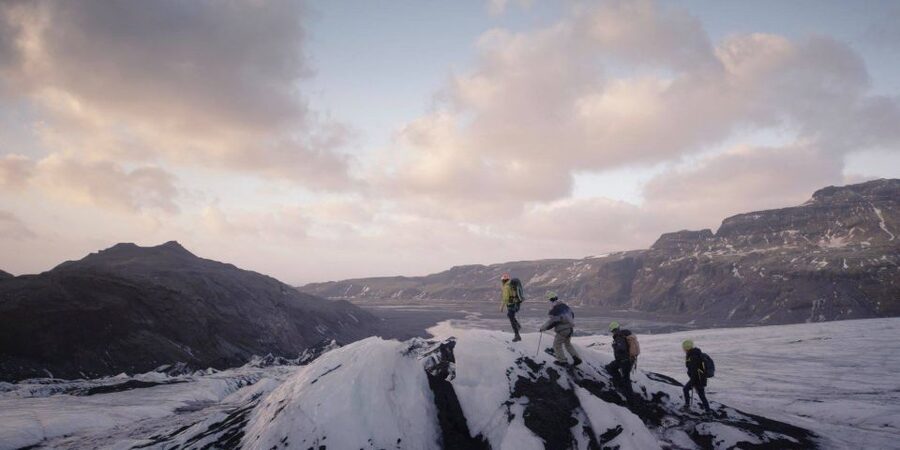
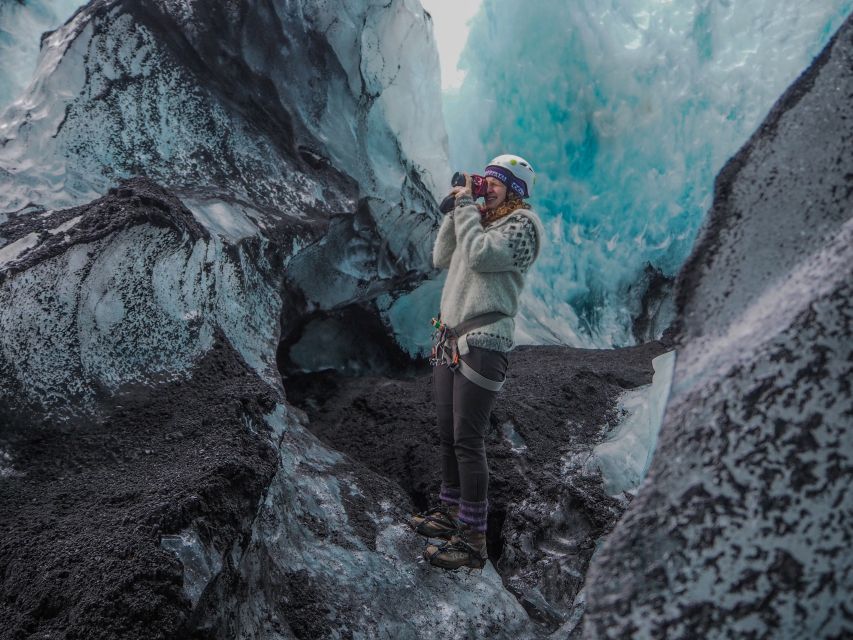
The Sólheimajökull experience is visually intense because glaciers are built out of layers, not just one “sheet.” Up close, you’ll see ice formations, crevasses, and tunnels that make you look twice.
Crevasses are the obvious dramatic parts, but what helps is seeing them in context while your guide explains glacier formation. That knowledge changes how you look. Instead of random cracks, you start seeing how stress, movement, and melt shape what you’re standing on.
You’ll also likely notice how the ice color and texture shift. Some areas look glassy, some look matte and dense. Even if conditions vary day to day, the underlying idea stays the same: you’re watching an environment that’s always in motion, even when it looks frozen.
Picture time also gets handled carefully. One clear theme from the best guides is where they choose safe spots to pause. So you get the photos without turning the climb into chaos.
How hard is it, and who will enjoy it most?
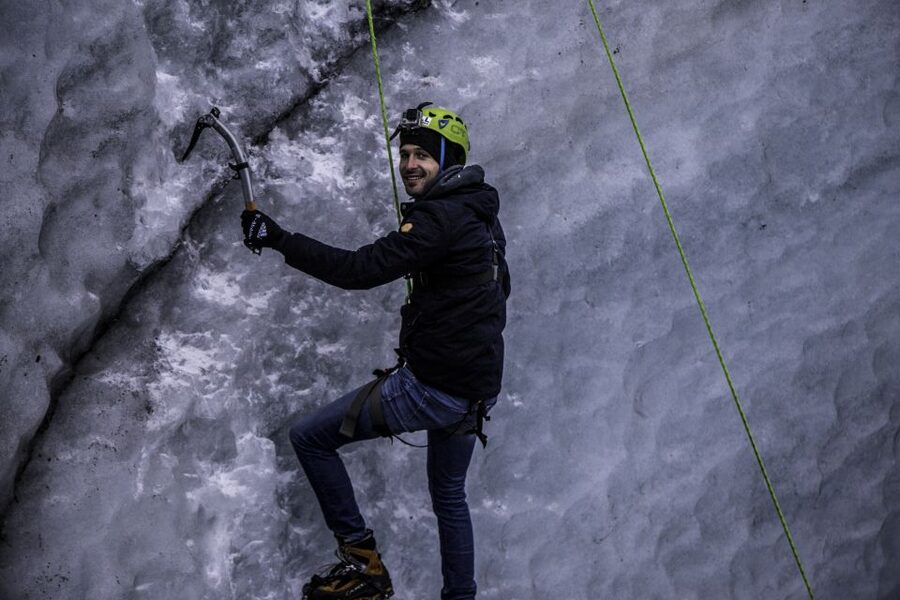
This is not a casual stroll. You’re walking on ice, then climbing. That said, it’s designed for people who are new to ice climbing.
You don’t need to be a mountaineer. The activity is built around coaching, not talent. The strongest feedback points to guides creating a supportive pace for beginners, including people who were nervous or had limited climbing experience.
Still, you should be honest with yourself about cold-weather tolerance. Your hands and feet matter. If you hate being cold, Iceland will remind you quickly. The activity also isn’t listed as suitable for kids under 12, which makes sense given the technical gear and focus needed.
A good fit if you want:
- A hands-on activity, not just sightseeing
- To learn real technique, not just watch
- A guided day with structure and safety systems
Less ideal if you need an easy, seated experience. This is active, and the ice climb segment in particular asks for full attention.
Price and value: what $241 buys in real-world comfort and safety
At $241 per person, this isn’t the cheapest thing you’ll do in South Iceland. But it’s also not overpriced in a “pay for views only” kind of way.
Here’s what you get for that price:
- A certified glacier guide
- Full glacier equipment like crampons, harness, helmet, ice axe, and ropes
- Climbing boots
- Coffee and chocolates included
When you add those elements up, the price starts to look more like a guided technical lesson with gear included. You’re not paying separately for specialty rentals or for a guide to stand near you while you do your own thing.
There’s also value in the small group size of 6. When you’re learning ice climbing, you benefit from more individual coaching and less crowding around the system. That keeps the experience safer and more comfortable.
If you’re trying to choose between a glacier hike and an ice climb, this option is the one that gives you both. The hike sets the stage. The climb gives you the story.
Meeting, timing, and what to expect from the 4-hour rhythm
Your day runs about 4 hours total. The pacing has clear stages: gear up and safety briefing, a glacier approach hike, time on the ice during the climb and walk segments, and then back to the starting point.
Meeting is at the Sólheimajökull Glacier parking lot. If you’re worried about arriving late, don’t be. Ice conditions change, and guides need time to fit equipment and organize the group safely.
The timing also matters because you’ll be learning in motion. You won’t just get a classroom lecture. You’ll practice techniques on the ice while the guide watches and adjusts.
Packing tips that actually matter on glacier days
This is cold. Not just “it’s chilly” cold. It’s ice climbing cold. You should pack like you’re dressing for wind and wet weather.
What you’ll want on your list:
- Warm clothing (layering helps)
- Rain gear
- Hiking shoes
- Gloves are necessary
Warm gloves are a must because you’ll be using your hands and your equipment setup will bring you into contact with cold gear. Even though the equipment is provided, your hands are still your problem if you show up unprepared.
Also bring practical clothing you can move in. The climb needs balance, and bulky clothing can get in your way or make you clumsier.
If you tend to run cold, I’d plan to over-layer rather than under-layer. Glacier days don’t reward bravado.
Guide quality: patient coaching that turns fear into control
The strongest reviews all point to one thing: the guides make the activity feel safe and manageable, even for beginners.
You’ll see names come up again and again. Maria and Adam were described as patient, reassuring, and safety conscious, with one person specifically noting how the guide helped them get to the top while managing fear of heights. Hang was praised for making people feel safe and secure throughout.
Other guides mentioned include Nate, Kevin, and Helki, with feedback highlighting confidence on the ice climb and careful support at every crampon step.
That pattern matters because ice climbing is mostly about control, not strength. A good guide helps you learn where to place your weight, how to move without panic, and when to slow down. If you’ve ever been nervous about heights or about not being athletic, this is where you’ll appreciate a guide who can teach without rushing.
Bonus opportunities like an ice cave check
One extra that can make the day feel more than “just the climb” is the possibility of checking out a new ice cave at the glacier. This shows up as a bonus option in experience feedback, and it sounds like exactly the kind of add-on that helps you leave with more than one highlight photo.
Because it depends on conditions and what the guide can safely access, don’t treat it like a guaranteed stop. Treat it like a bonus if it’s offered.
Should you book this Sólheimajökull ice climb?
Book it if you want a guided, hands-on glacier experience where you learn real technique and you’re excited to see crevasses and ice formations up close. The combination of ice climbing plus glacier hiking is the sweet spot, and the gear is included so you can focus on preparation instead of logistics.
Skip it or reconsider if cold-weather discomfort is a deal breaker, or if you’re not willing to follow instructions closely. This is technical and safety-first. The activity is best when you arrive dressed for the conditions and ready to learn.
If you’re on the fence, my practical advice is this: choose the tour version that gives you coaching time on the ice. A short walk and a quick look at glacier ice is cool, but learning crampon and axe basics is what turns the day into a real skill and a memory that sticks.
FAQ
How long is the Sólheimajökull ice climb and glacier hike?
The duration is about 4 hours total.
Where do I meet the guide?
You meet at the Sólheimajökull Glacier parking lot.
What equipment is included?
Included equipment is helmet, harness, crampons, ice axe, and ropes, plus climbing boots. A certified glacier guide is also included.
What should I bring?
Bring warm clothing, hiking shoes, rain gear, and gloves. Gloves are specifically necessary to protect your hands.
Is it suitable for children?
It is not suitable for children under 12.
What group size and language are offered?
It is a small group limited to 6 participants, and the live guide speaks English.
Recently reviewed around Vik
- Þórsmörk by Super Jeep★ 4.9 · 19 reviews
- Hvolsvöllur: Private Thorsmork Guided Day Hike by Super Jeep★ 5.0 · 4 reviews
- Vik: Mýrdalsjökull Snowmobile Adventure★ 4.6 · 174 reviews
- South Coast of Iceland. Black beach, glaсier, waterfalls…★ 3.9 · 6 reviews
- Sólheimajökull: Guided Kayaking Tour on the Glacier Lagoon★ 4.8 · 179 reviews
- Sólheimajökull: Guided Glacier Hike★ 4.7 · 108 reviews
- Snowmobiling on Eyjafjallajökull★ 4.8 · 44 reviews
- Skaftafell National Park: Falljokull Ice Climb and Hike★ 4.7 · 78 reviews
Glacier Hikes, compared.
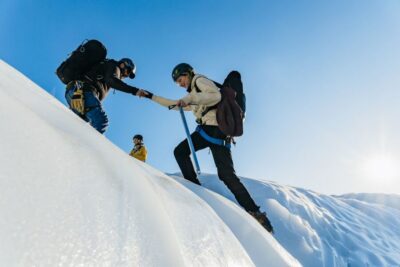
Skaftafell National Park: Falljokull Glacier Easy Hike
Read our review →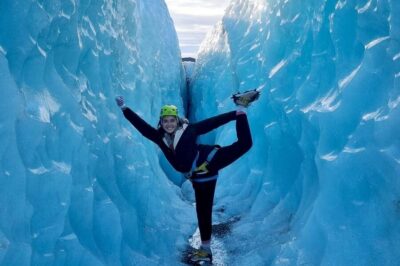
Glacier Hike, Waterfalls and Black Sand Beach
Read our review →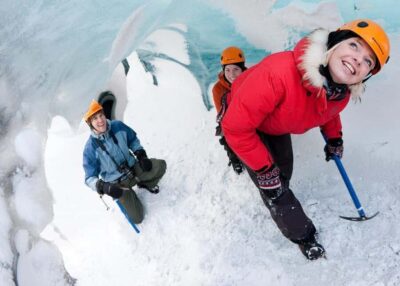
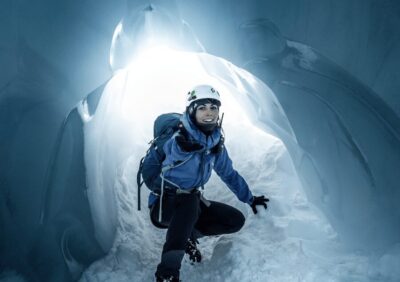
Skaftafell National Park: Falljokull Glacier Advanced Hike
Read our review →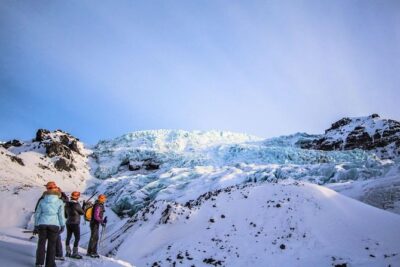
Glacier Hike and South Coast Small-Group Tour from Reykjavik
Read our review →Browse the lists this tour appears in